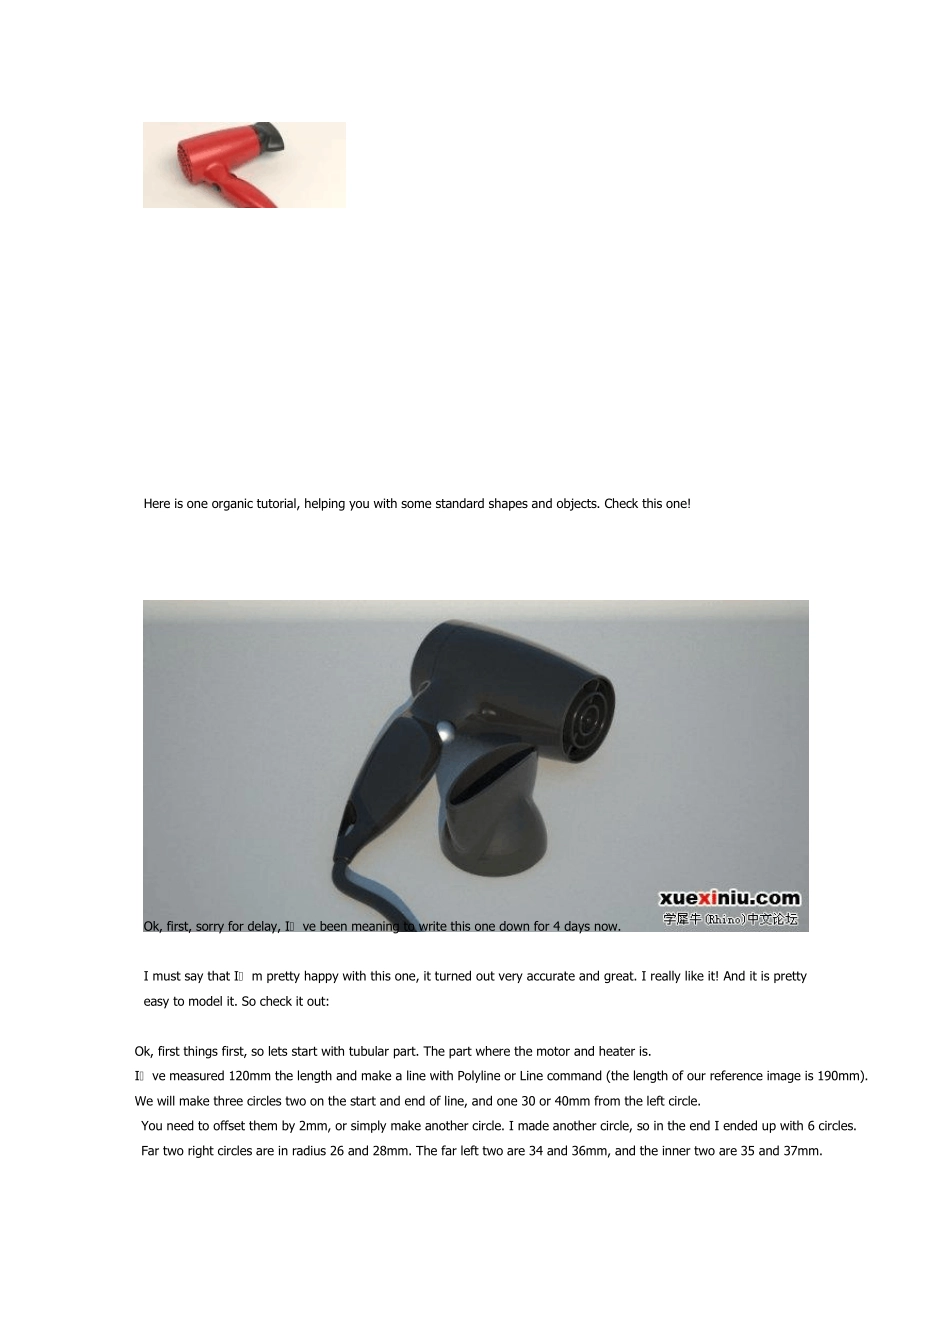
Here is one organic tutorial, helping you with some standard shapes and objects. Check this one! Ok, first, sorry for delay, I’ ve been meaning to write this one down for 4 days now. I must say that I’ m pretty happy with this one, it turned out very accurate and great. I really like it! And it is pretty easy to model it. So check it out: Ok, first things first, so lets start with tubular part. The part where the motor and heater is. 
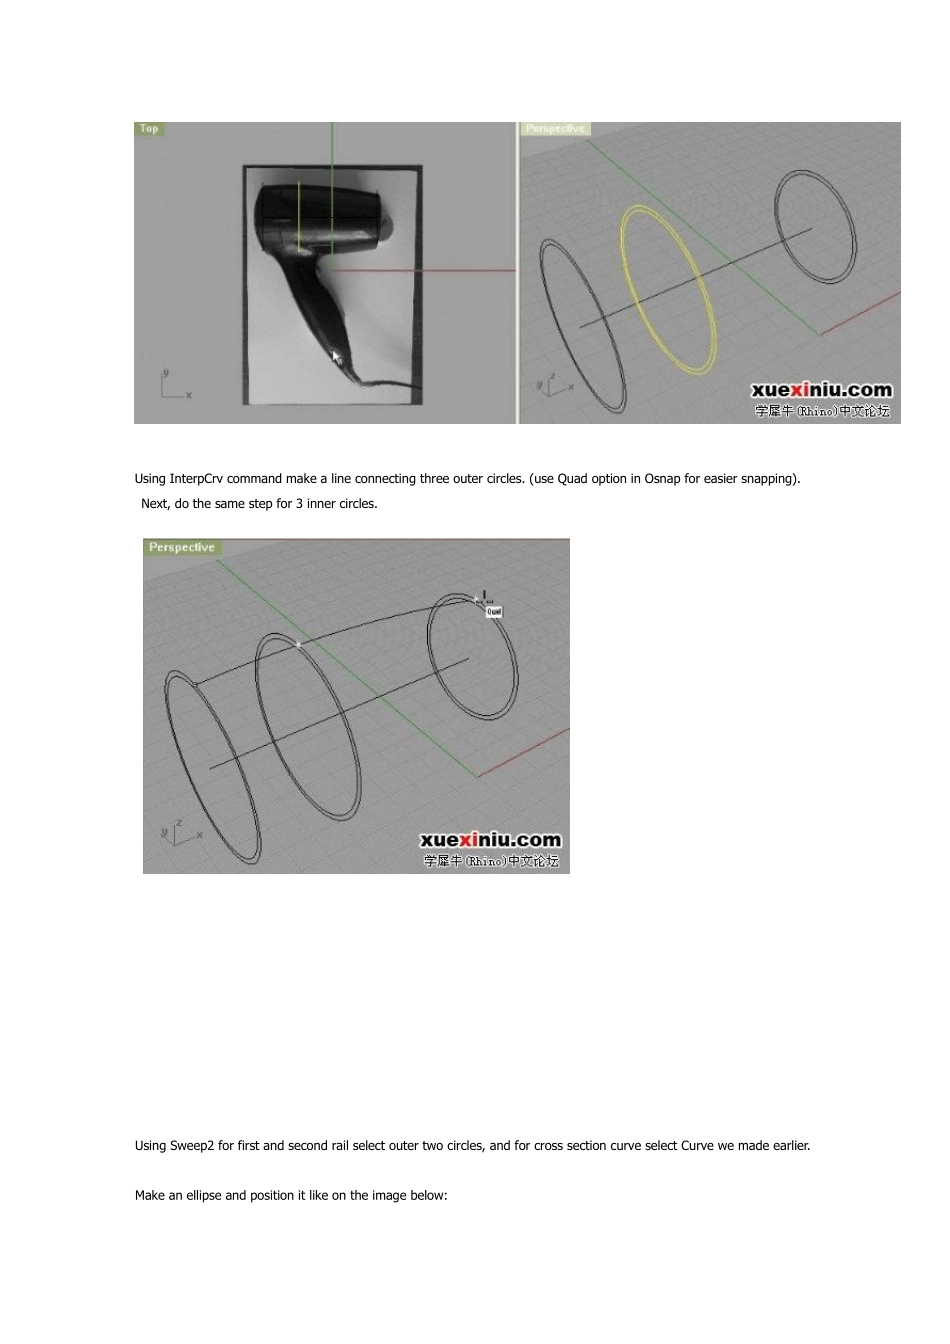
I’ ve measured 120mm the length and make a line with Polyline or Line command (the length of our reference image is 190mm). We will make three circles two on the start and end of line, and one 30 or 40mm from the left circle. You need to offset them by 2mm, or simply make another circle. I made another circle, so in the end I ended up with 6 circles. Far two right circles are in radius 26 and 28mm. The far left two are 34 and 36mm, and the inner two are 35 and 37mm. Using InterpCrv command make a line connecting three outer circles. (use Quad option in Osnap for easier snapping). Next, do the same step for 3 inner circles. Using Sweep2 for first and second rail select outer two circles, and for cross section curve select Curve we made earlier. Make an ellipse and position it like on the image below: Next, from Front viewport use Project command to project that ellipse onto our tubular surface. You will get two curves on the surface, and we need only the front one. Using it, we will trim the surface and make a hole: Now, we’ll move onto handle. I like jumping from one part to another, I guess you already found that out From top viewport using reference image, outline outer edges with InterpCrv. Just to make sure, I ma...