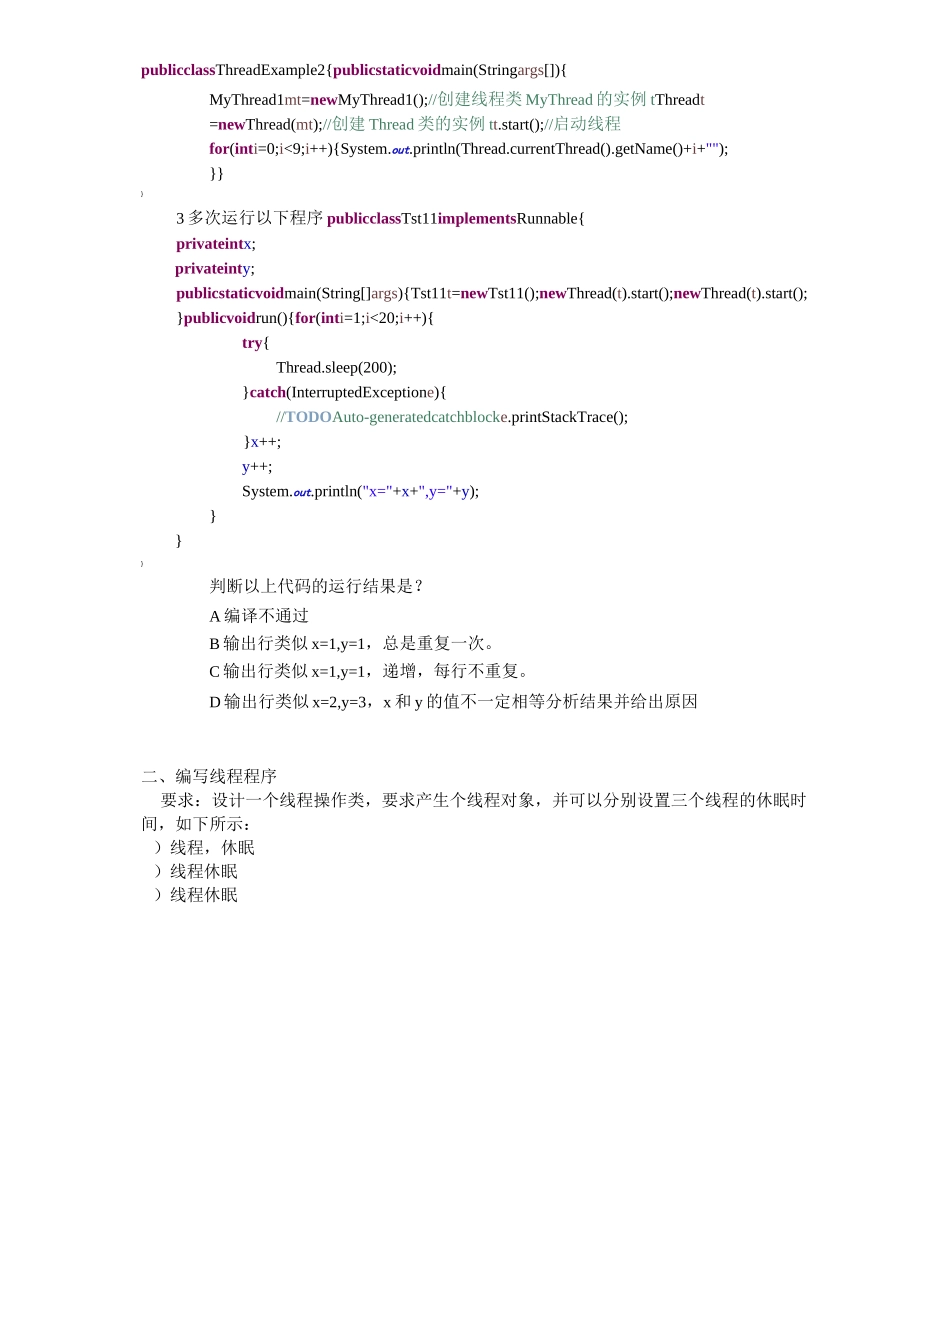
}}}一、实验目的掌握线程的概念、线程的生命周期。掌握采用继承类创建子线程。掌握使用接口使类线程化。二、实验要求.掌握线程的概念、线程的生命周期。•掌握使用接口使类线程化。三、实验内容一、输入以下源代码,多次运行程序,分析输出结果继承类创建子线程publicclassMultiThreadExample{publicstaticvoidmain(String[]args){newThreadDemo("A").start();〃启动线程 AnewThreadDemo("B").start();〃启动线程 B}}classThreadDemoextendsThread{publicThreadDemo(Stringn){super(n);//线程名称}publicvoidrun(){for(inti=0;i<5;i++){try{//睡眠一段随机时间Thread.sleep((long)(Math.random()*1000));}catch(InterruptedExceptione){e.printStackTrace();}System.out.print(getName());//打印线程名称}}}使用接口使类线程化classMyThread1implementsRunnable{//实现 Runnable 接口创建线程类 MyThreadpublicvoidrun(){〃实现 Runnable 接口的 run()方法for(inti=0;i<9;i++){System.out.println(Thread.currentThread().getName()+i+"");publicclassThreadExample2{publicstaticvoidmain(Stringargs[]){MyThread1mt=newMyThread1();//创建线程类 MyThread 的实例 tThreadt=newThread(mt);//创建 Thread 类的实例 tt.start();//启动线程for(inti=0;i<9;i++){System.out.println(Thread.currentThread().getName()+i+"");}}}3 多次运行以下程序 publicclassTst11implementsRunnable{privateintx;privateinty;publicstaticvoidmain(String[]args){Tst11t=newTst11();newThread(t).start();newThread(t).start();}publicvoidrun(){for(inti=1;i<20;i++){try{Thread.sleep(200);}catch(InterruptedExceptione){//TODOAuto-generatedcatchblocke.printStackTrace();}x++;y++;System.out.println("x="+x+",y="+y);}}}判断以上代码的运行结果是?A 编译不通过B 输出行类似 x=1,y=1,总是重复一次。C 输出行类似 x=1,y=1,递增,每行不重复。D 输出行类似 x=2,y=3,x 和 y 的值不一定相等分析结果并给出原因二、编写线程程序要求:设计一个线程操作类,要求产生个线程对象,并可以分别设置三个线程的休眠时间,如下所示:)线程,休眠)线程休眠)线程休眠}}package 线程;classMyThreadextendsThread{privateintsleeptime;publicMyThread(Strings){super(s);}publicvoidsetSleepTime(intsleeptime){this.sleeptime=sleeptime;}...


