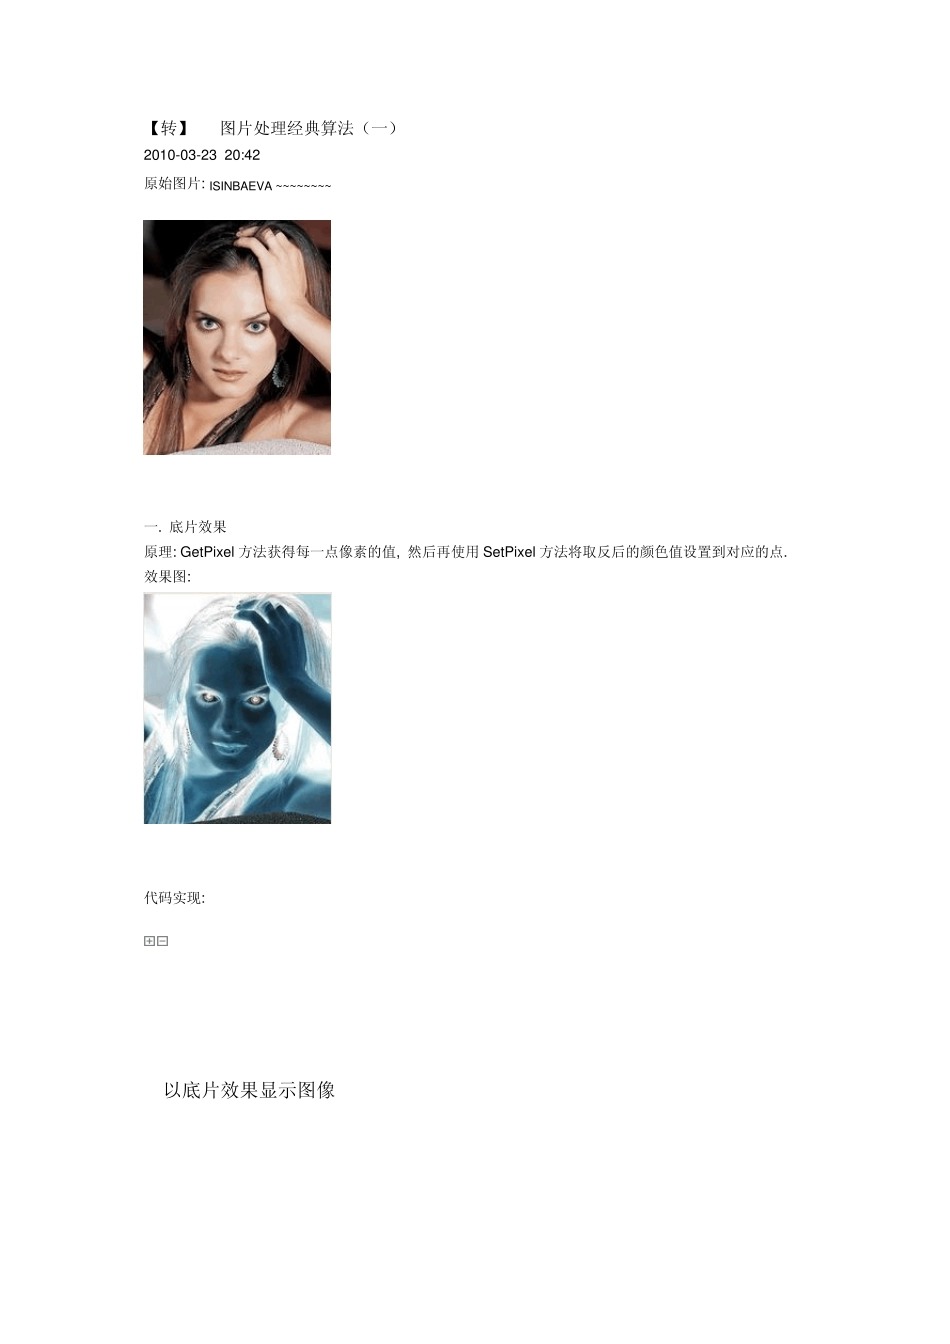
【转】 C#图片处理经典算法(一) 2010-03-23 20:42 原始图片: ISINBAEVA ~~~~~~~~ 一
底片效果 原理: GetPixel 方法获得每一点像素的值, 然后再使用 SetPixel 方法将取反后的颜色值设置到对应的点
效果图: 代码实现: private void button1_Click(object sender, EventArgs e) { //以底片效果显示图像 try { int Height = this
pictureBox1
Height; int Width = this
pictureBox1
Width; Bitmap newbitmap = new Bitmap(Width, Height); Bitmap oldbitmap = (Bitmap)this
pictureBox1
Image; Color pixel; for (int x = 1; x < Width; x++) { for (int y = 1; y < Height; y++) { int r, g, b; pixel = oldbitmap
GetPixel(x, y); r = 255 - pixel
R; g = 255 - pixel
G; b = 255 - pixel
B; newbitmap
SetPixel(x, y, Color
FromArgb(r, g, b)); } } this
pictureBox1
Image = newbitmap; } catch (Exception ex) { MessageBox
Show(ex
Message, "信息提示", MessageBoxButtons
OK, MessageBoxIcon
Information); } } 二
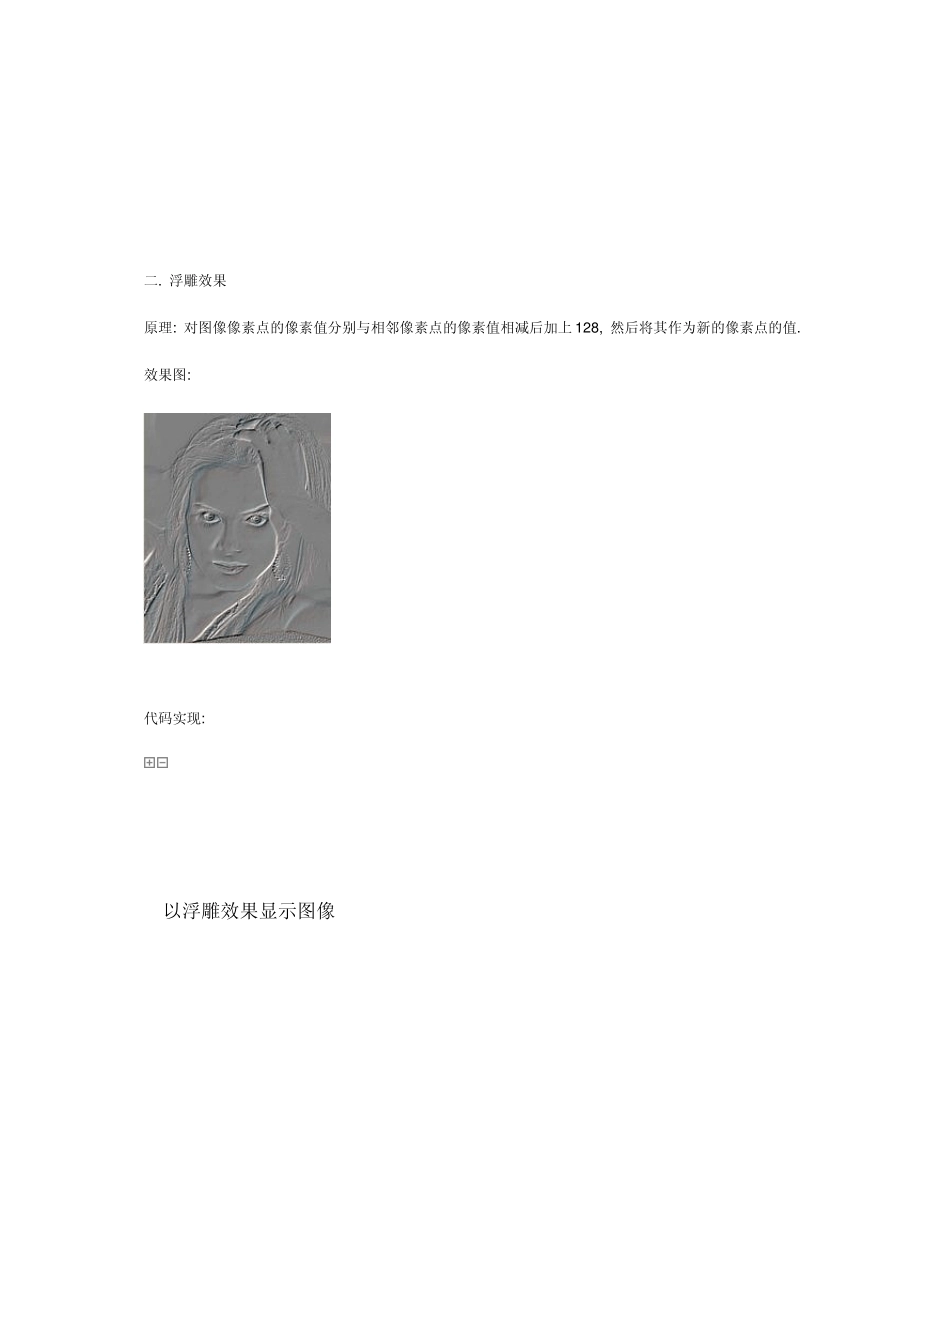
浮雕效果 原理