修改boot
img 1、备份 boot
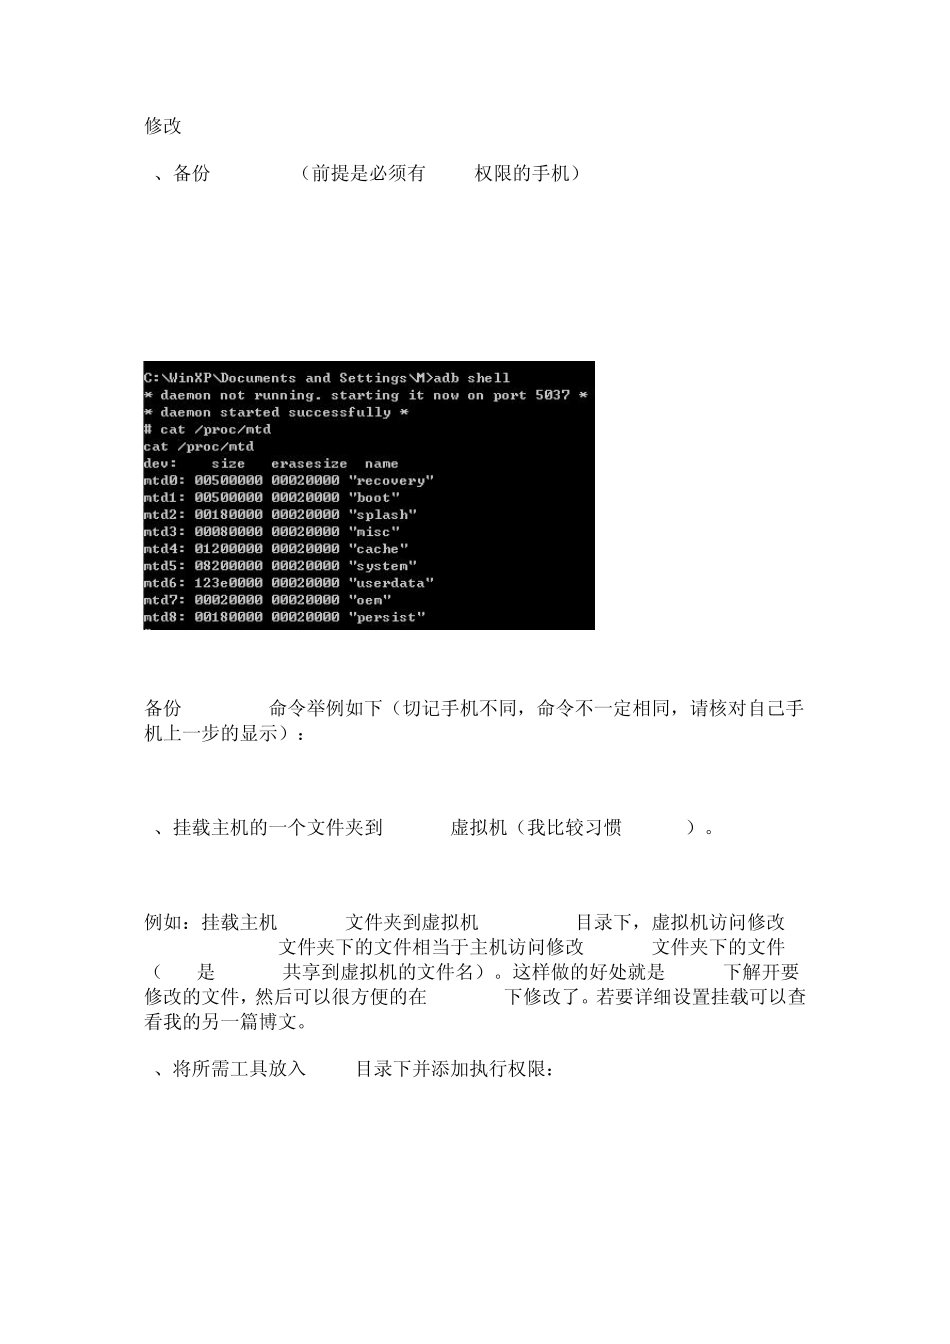
img(前提是必须有 root权限的手机) adb shell su cat /proc/mtd 备份 boot
img命令举例如下(切记手机不同,命令不一定相同,请核对自己手机上一步的显示): cat /dev/mtd/mtd1 >/sdcard/boot
img 2、挂载主机的一个文件夹到 VMware虚拟机(我比较习惯 VMware)
sudo mount -t vmhgfs
host:/ /mnt/hgfs/ 例如:挂载主机 d:\123文件夹到虚拟机/mnt/hgfs/目录下,虚拟机访问修改/mnt/hgfs/mmm/文件夹下的文件相当于主机访问修改d:\123文件夹下的文件(mmm是 d:\123共享到虚拟机的文件名)
这样做的好处就是 linux下解开要修改的文件,然后可以很方便的在 windows下修改了
若要详细设置挂载可以查看我的另一篇博文
3、将所需工具放入/bin/目录下并添加执行权限: mv /mnt/hgfs/mmm/split_bootimg
pl /bin/ mv /mnt/hgfs/mmm/mkbootimg /bin/ mv /mnt/hgfs/mmm/mkbootfs /bin/ chmod +x /bin/split_bootimg
pl chmod +x /bin/mkbootimg chmod +x /bin/mkbootfs 4、解开 boot
img mkdir /mnt/hgfs/mmm/boot cp /mnt/hgfs/mmm/boot
img /mnt/hgfs/mmm/boot/ cd /mnt/hgfs/mmm/boot split_bootimg
pl boot
img 此时 BOOT目录下会多出几个文件,boot
img-ramdisk
gz和 boot