电脑桌面
添加小米粒文库到电脑桌面
安装后可以在桌面快捷访问

PPT教程:PPT立体图形画法教程(推荐)VIP免费

PPT教程:PPT立体图形画法教程(推荐)_第1页
1/8
PPT教程:PPT立体图形画法教程(推荐)_第2页
2/8
PPT教程:PPT立体图形画法教程(推荐)_第3页
3/8
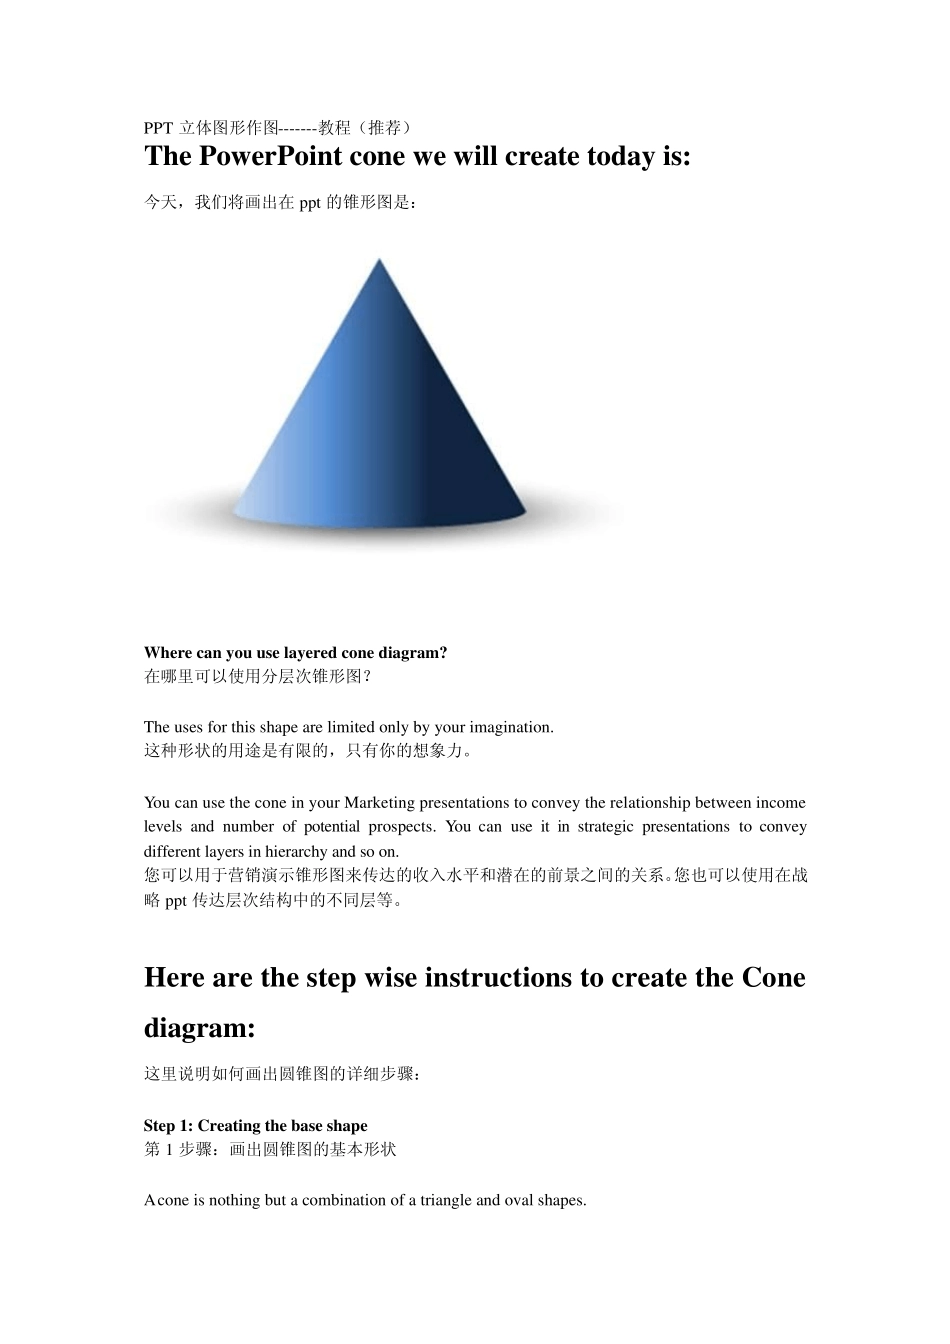
PPT 立体图形作图-------教程(推荐) The PowerPoint cone we will create today is: 今天,我们将画出在ppt 的锥形图是: Where can you use layered cone diagram? 在哪里可以使用分层次锥形图? The uses for this shape are limited only by your imagination. 这种形状的用途是有限的,只有你的想象力。 You can use the cone in your Marketing presentations to convey the relationship between income levels and number of potential prospects. You can use it in strategic presentations to convey different layers in hierarchy and so on. 您可以用于营销演示锥形图来传达的收入水平和潜在的前景之间的关系。您也可以使用在战略 ppt 传达层次结构中的不同层等。 
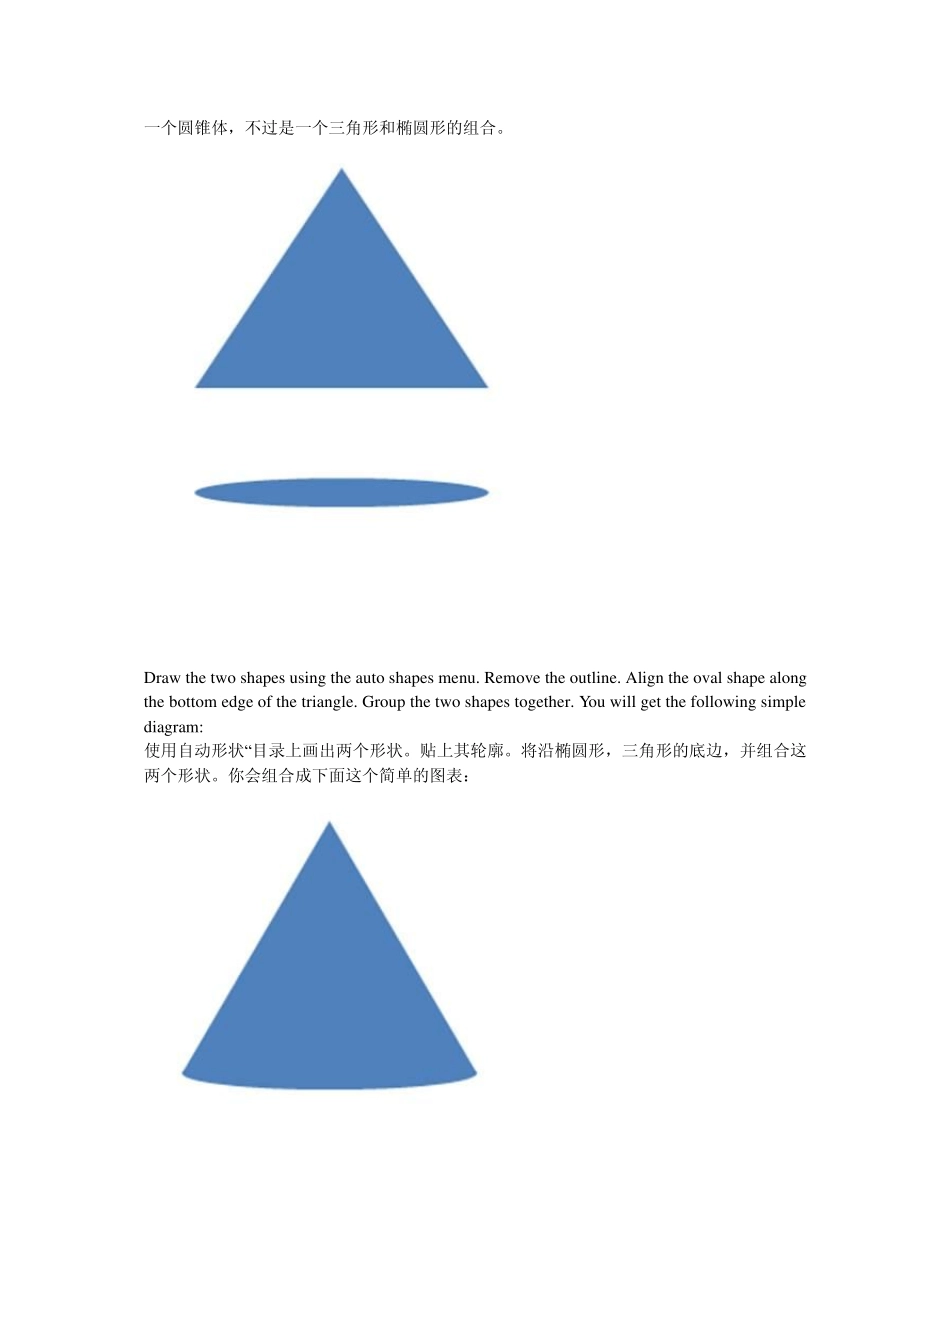
Here are the step wise instructions to create the Cone diagram: 这里说明如何画出圆锥图的详细步骤: Step 1: Creating the base shape 第 1 步骤:画出圆锥图的基本形状 A cone is nothing but a combination of a triangle and oval shapes. 一个圆锥体,不过是一个三角形和椭圆形的组合。 Draw the tw o shapes using the auto shapes menu. Remove the outline. Align the oval shape along the bottom edge of the triangle. Group the tw o shapes together. You w ill get the follow ing simple diagram: 使用自动形状“目录上画出两个形状。贴上其轮廓。将沿椭圆形,三角形的底边,并组合这两个形状。你会组合成下面这个简单的图表: Step 2: Using Gradient shade to give it a 3D look 第2 步骤:使用渐变阴影给它成为一个立体的外观 The next step is to give a 3D look to the shape. We will use Gradient fill option to achieve the result.Right click on the shape. Go to Format Shape -> Fill -> Gradient fill -> Preset colors -> Moss 下一步是给一个立体的外观形状。我们将使用渐变填充“选项来达成此目标。点撃鼠标右键,选定所需要的形状。进入格式形状 - >填满 - >渐层填满 - >预设色彩 - >青苔 This fill color option provides the gradient stops we require. Choose the fill type as „Lin...

1、当您付费下载文档后,您只拥有了使用权限,并不意味着购买了版权,文档只能用于自身使用,不得用于其他商业用途(如 [转卖]进行直接盈利或[编辑后售卖]进行间接盈利)。
2、本站所有内容均由合作方或网友上传,本站不对文档的完整性、权威性及其观点立场正确性做任何保证或承诺!文档内容仅供研究参考,付费前请自行鉴别。
3、如文档内容存在违规,或者侵犯商业秘密、侵犯著作权等,请点击“违规举报”。

碎片内容

PPT教程:PPT立体图形画法教程(推荐)

确认删除?
VIP
微信客服
  • 扫码咨询
会员Q群
  • 会员专属群点击这里加入QQ群
客服邮箱
回到顶部