下载后可任意编辑1. 在安装好的 Ubuntu 系统下添加具有 sudo 权限的用户。root@nodeA:~# sudo adduser zyxAdding user `zyx' ...Adding new group `zyx' (1001) ...Adding new user `zyx' (1001) with group `zyx' ...Creating home directory `/home/zyx' ...Copying files from `/etc/skel' ...Enter new UNIX password: Retype new UNIX password: passwd: password updated successfullyChanging the user information for zyxEnter the new value, or press ENTER for the default Full Name []: ^Cadduser: `/usr/bin/chfn zyx' exited from signal 2. Exiting.
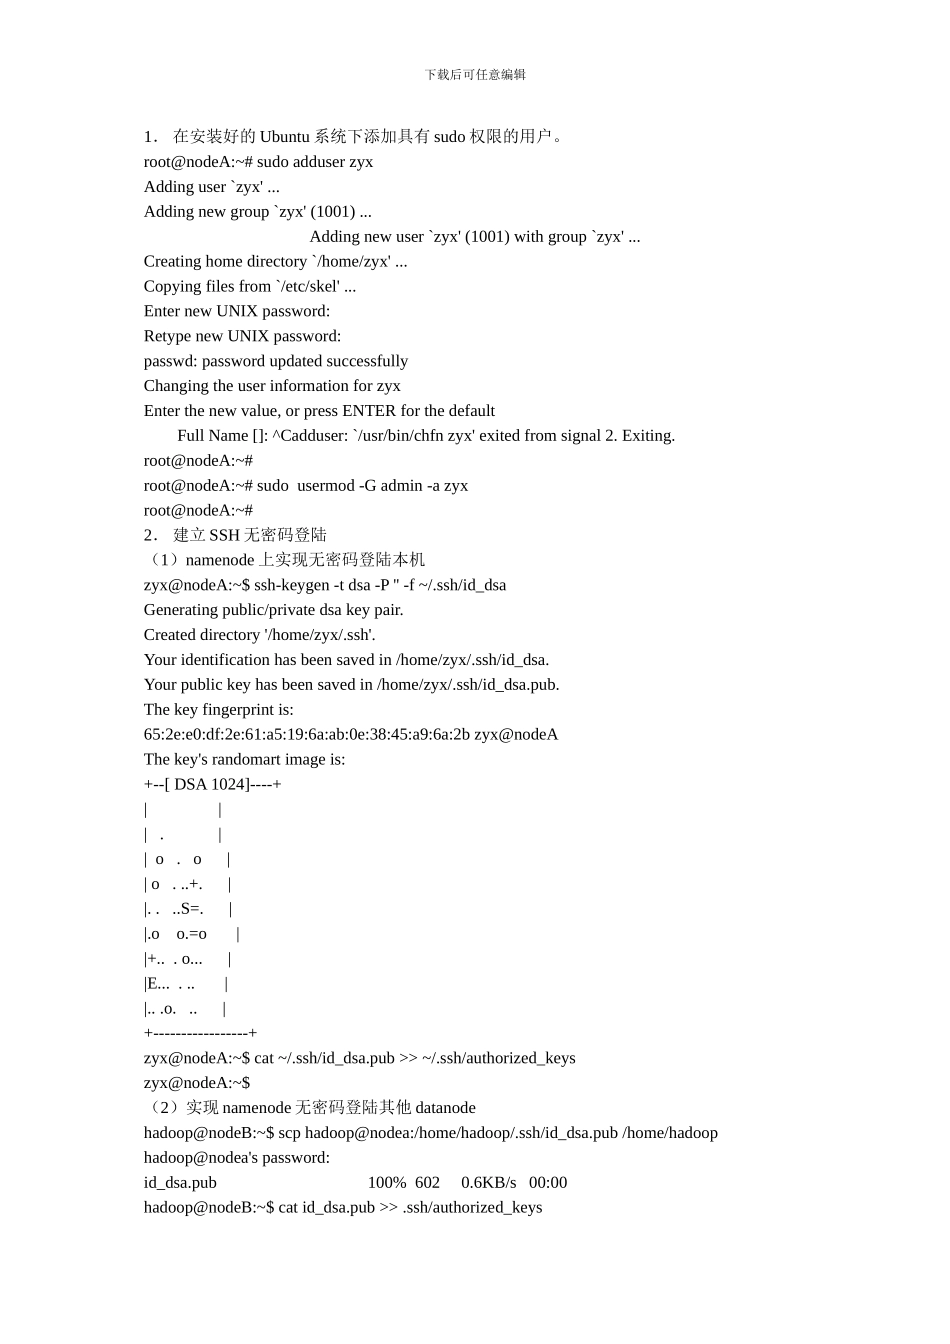
root@nodeA:~#root@nodeA:~# sudo usermod -G admin -a zyxroot@nodeA:~#2. 建立 SSH 无密码登陆(1)namenode 上实现无密码登陆本机zyx@nodeA:~$ ssh-keygen -t dsa -P '' -f ~/.ssh/id_dsaGenerating public/private dsa key pair.Created directory '/home/zyx/.ssh'.Your identification has been saved in /home/zyx/.ssh/id_dsa.Your public key has been saved in /home/zyx/.ssh/id_dsa.pub.The key fingerprint is:65:2e:e0:df:2e:61:a5:19:6a:ab:0e:38:45:a9:6a:2b zyx@nodeAThe key's randomart image is:+--[ DSA 1024]----+| || . || o . o || o . ..+. ||. . ..S=. ||.o o.=o ||+.. . o... ||E... . .. ||.. .o. .. |+-----------------+zyx@nodeA:~$ cat ~/.ssh/id_dsa.pub >> ~/.ssh/authorized_keyszyx@nodeA:~$(2)实现 namenode 无密码登陆其他 datanodehadoop@nodeB:~$ scp hadoop@nodea:/home/hadoop/.ssh/id_dsa.pub /home/hadoophadoop@nodea's password: id_dsa.pub 100% 602 0.6KB/s 00:00 hadoop@nodeB:~$ cat id_dsa.pub >> .ssh/authorized_keys下载后可任意编辑hadoop@nodeB:~$ sudo ufw disable3. 复制 JDK(jdk-6u20-linux-i586.bin)文件到 linux利用 F-Secure SSH File Transfer Trial 工具,直接拖拽4. jdk-6u20-linux-i586.bin 的安装和配置(1)安装zyx@nodeA:~$ lsExamples jdkzyx@nodeA:~$ cd jdkzyx@nodeA:~/jdk$ lsjdk-6u20-linux-i586.binzyx@nodeA:~/jdk$ chmod a+x jdk*zyx@nodeA:~/jdk$ ./jdk*接下来显示许可协议,然后选择 yes,...